 Memory Tickets
Travel photos
What to do with your travel photos after the trip
Hundreds of photos from one trip and you never open them again? Eight simple ways to sort, keep and actually revisit your travel photos.





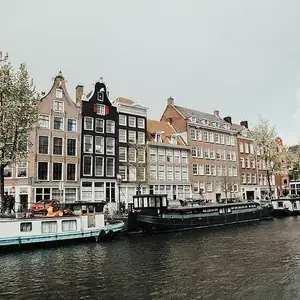











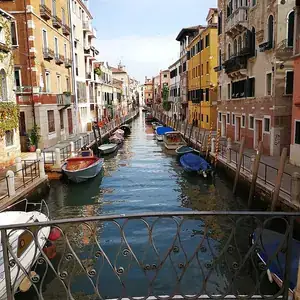



You come home with hundreds of photos. A week later they are buried under screenshots and receipts, and the trip lives somewhere in your camera roll that you only reach by scrolling. The problem is rarely a lack of photos. It is that nothing was ever chosen from them.
Here is what to do with travel photos so the trip stays with you, in the order that takes the least effort.
1. Cull a little every evening of the trip
Ten minutes before bed beats three hours after you get home. Go through the day's shots, delete the obvious misses (blurry, duplicated, the eleven near-identical sunsets) and mark the good ones as favorites. On iPhone that is the heart in the Photos app; Google Photos has a star.
Doing it daily works because you still remember which shot felt right. Three weeks later, all eleven sunsets look equally important and you keep them all.
2. Pick one photo for each day
If you only do one thing on this list, do this. For every day of the trip, choose a single photo that stands for it. Not the prettiest one: the one that brings the day back.
A good daily pick usually has something specific in it. The café where you waited out the rain, the queue for the ferry, the view from the window of that small hotel. Wide landscapes look great and say very little about your day.
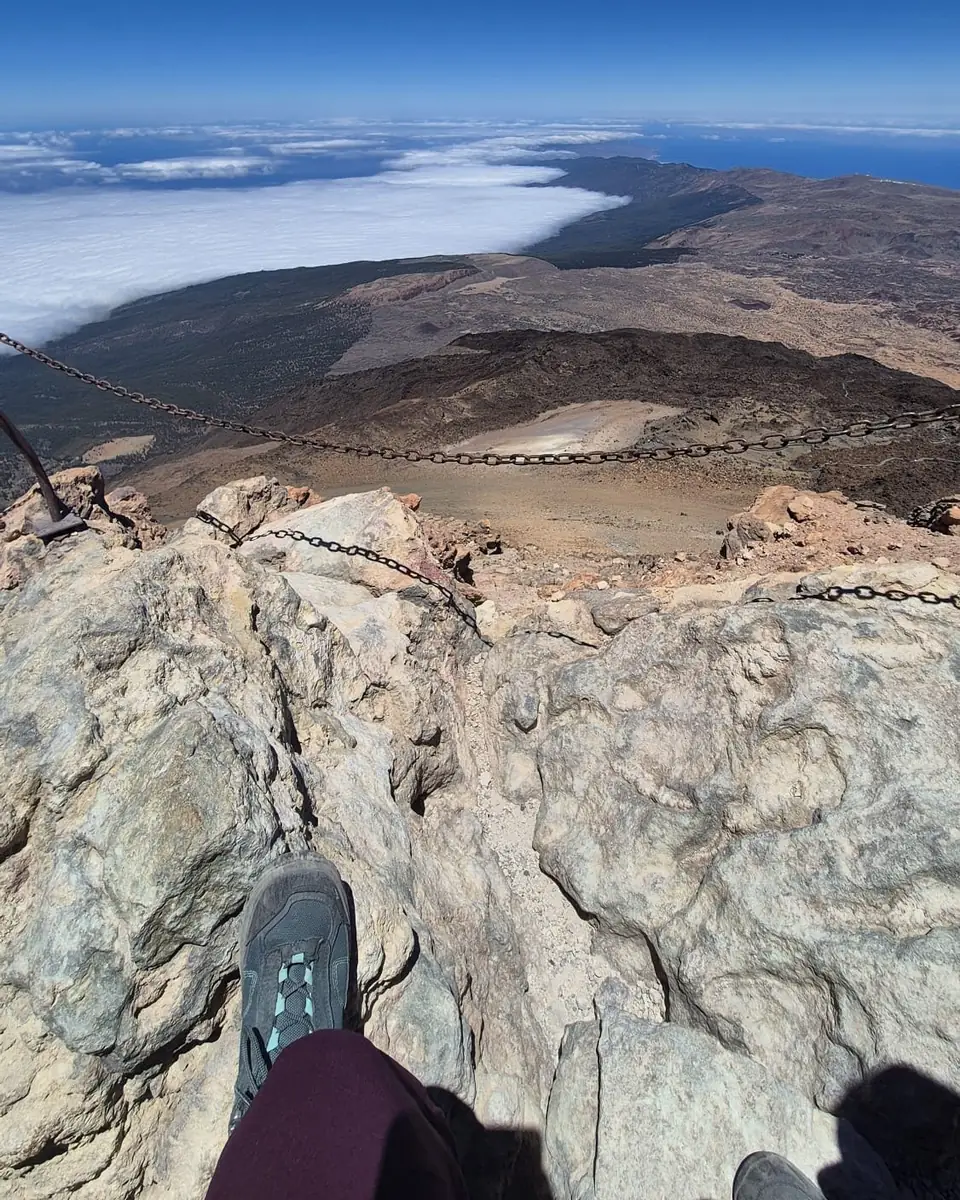
One photo per day turns a ten-day trip into ten pictures you can look through in a minute. That is the version of the trip you will actually revisit.
3. Write one line about each day
Photos keep what things looked like. They are bad at keeping what happened: the joke, the wrong turn, the name of the dish you still think about. One line written the same evening fixes that.
Keep it short and specific:
- "missed the last ferry, found the best pizza of the trip"
- "rain all day, had the museum to ourselves"
- "first swim in October, never again, worth it"
You can put that line in the photo's caption (on iPhone, swipe up on a photo and tap Add a Caption), in a notes app, or on a keepsake like the ticket below. Where you write it matters less than writing it while it is fresh.
4. Make one album per trip
Create an album named after the trip and drop the favorites in. If you travelled with other people, use a shared album (iCloud Shared Albums on iPhone, shared albums in Google Photos) so everyone's best shots end up in one place instead of four separate camera rolls.
Name albums the same way every time, like "2026-08 Lisbon", and they will sort themselves by date.
5. Print fewer photos, not more
A 300-page photo book is a project that rarely gets finished. Ten prints are an evening. Take your daily picks from step 2, order small prints and put them somewhere you walk past every day: the fridge, a pinboard, a frame by the door.
If you want a book, build it from the daily picks and your one-liners. It will be thinner, and far more likely to exist.
6. Turn each day into a keepsake ticket
You used to come home with small proofs that you were there: a museum stub, a boarding pass, a card from the cable car. Memory Tickets brings that back for photos. You pick one photo from the day, give it a title, a place and a date, write one line, and it comes out as a ticket with a perforated edge, a stamp and a serial number of its own.
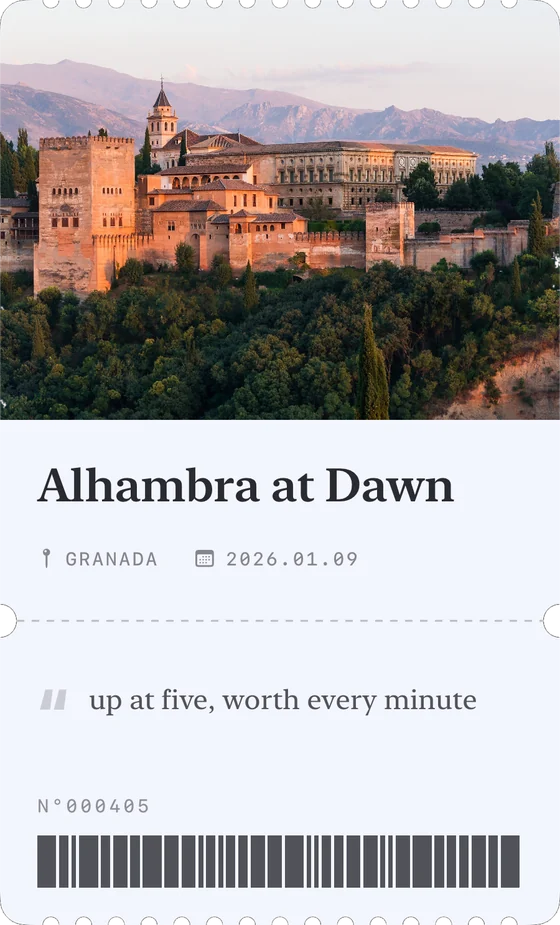
The tickets collect by month, so a trip reads like a small stack of stubs instead of a scroll through 400 images. It works offline, needs no account, and the photos stay on your phone.
7. Back up before you delete anything
Before you clear space on your phone, make sure the photos exist in at least two places: a cloud library (iCloud Photos or Google Photos) and a copy on a computer or an external drive. Phones get lost and stolen on trips, and a backup is what turns that into an inconvenience instead of losing the whole holiday.
8. Put the trip where you will see it
Photos you have to search for do not get looked at. Put one on your lock screen, add a photo widget to your home screen, or keep a frame on your desk. The iPhone Photos app also builds Memories from your trips on its own, which are worth a look a few weeks after you are back.
A simple routine
- During the trip: ten minutes each evening. Delete, favorite, pick one photo, write one line.
- The week after: one album, one backup, ten prints.
- Later: one photo on your lock screen, and your tickets for when you want the whole trip back in a minute.