 Memory Tickets
Winter phone photos
Snow photography on your phone: fix gray snow
Fix gray snow in phone photos with iPhone and Samsung exposure controls, a same-scene comparison card, and checks for lost texture or a dark face.
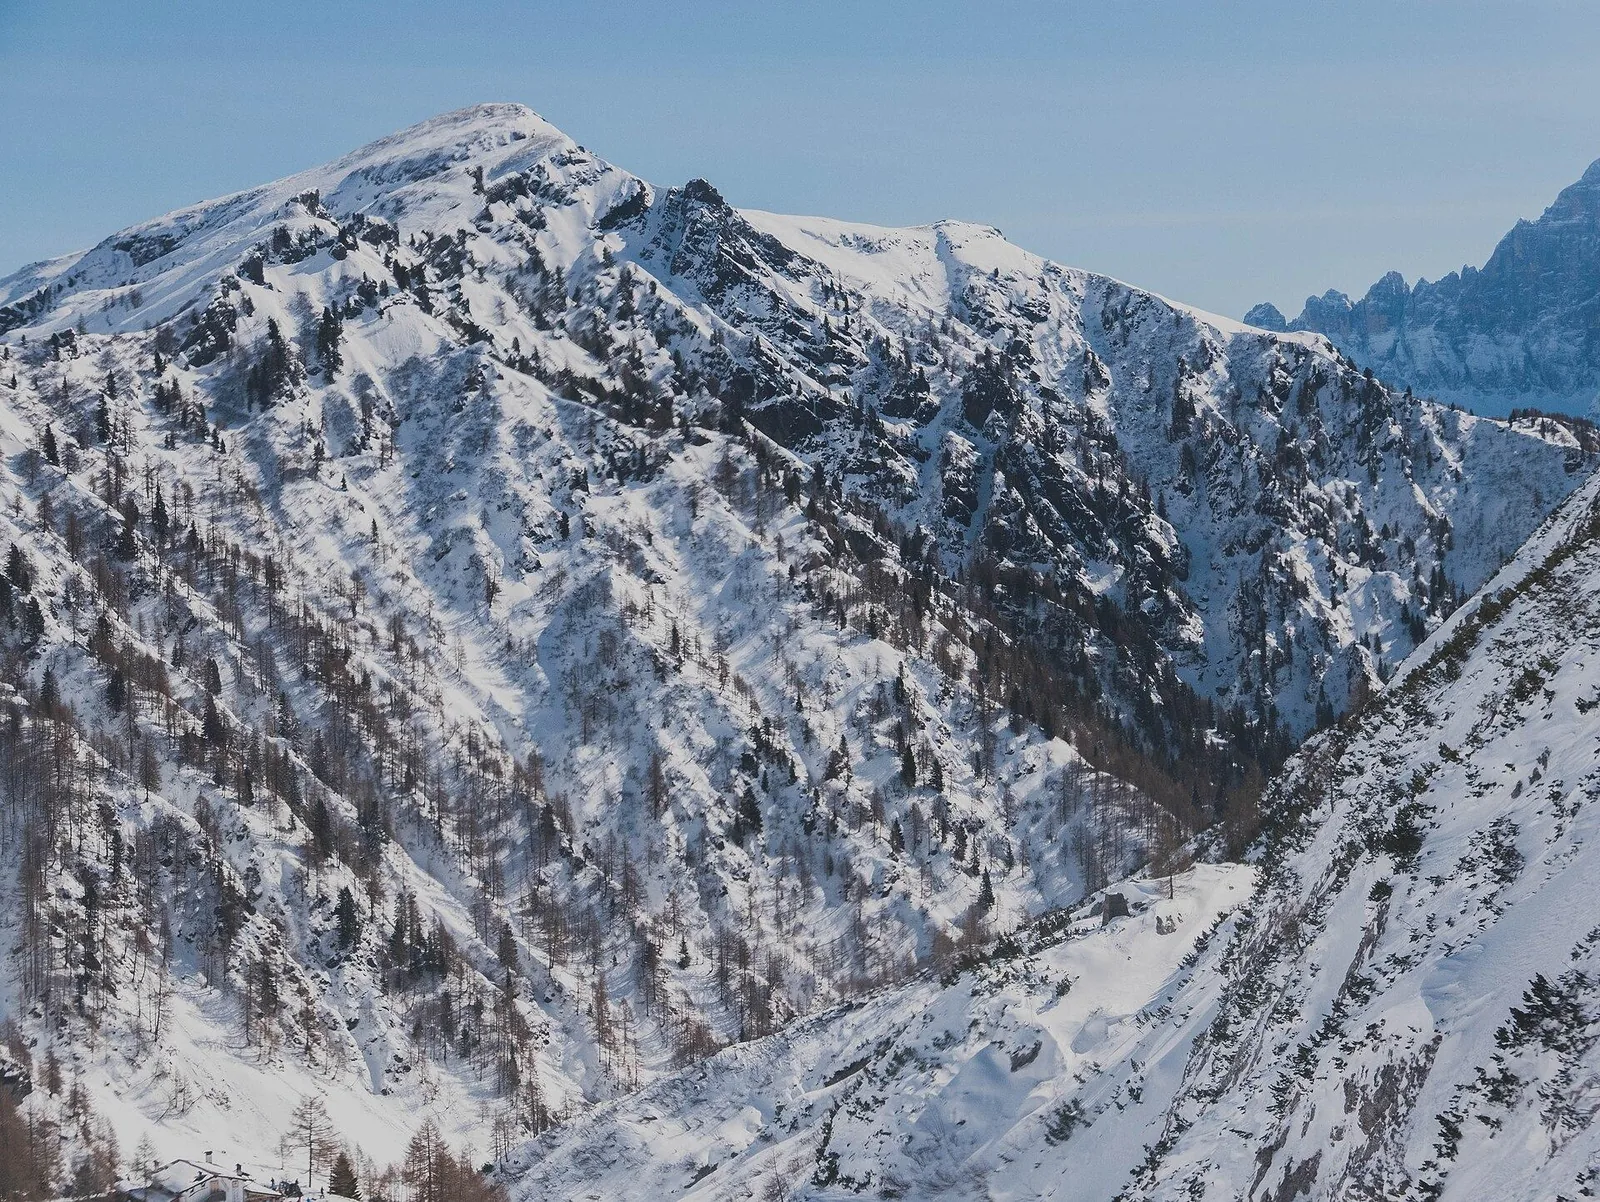
For snow photography on your phone, take an automatic photo first, then raise exposure a little if the snow looks gray and still has visible texture. Nikon's snow photography guidance recommends checking the result and using positive exposure compensation if the snow does not look white. If the snow is already a blank white patch, try a darker frame and compare the saved pictures before taking more.
Keep the frame still while changing the setting. The comparison card below helps you choose between automatic, brighter, and darker versions in the actual light, with separate checks for the snow and a person's face. For more ideas on keeping travel memories, see our travel photo guides.
Why does snow look gray in phone photos?
A gray result is a reason to compare a brighter frame. Nikon says current camera meters may already expose snow as white, so inspect your automatic result before changing anything. If it looks gray, try a brighter frame and check that the detail you care about is still visible.
Find a patch with something you can compare across frames: footprints, a ski track, or the edge of a snowbank. Make the next picture a little brighter and check both the overall brightness and that detail. Stop increasing exposure when the result you want starts losing the texture you chose.
Do not pick a fixed exposure number for an entire trip. Repeat the comparison when you move from an open snowfield to a face, a shaded path, or a different direction of light.
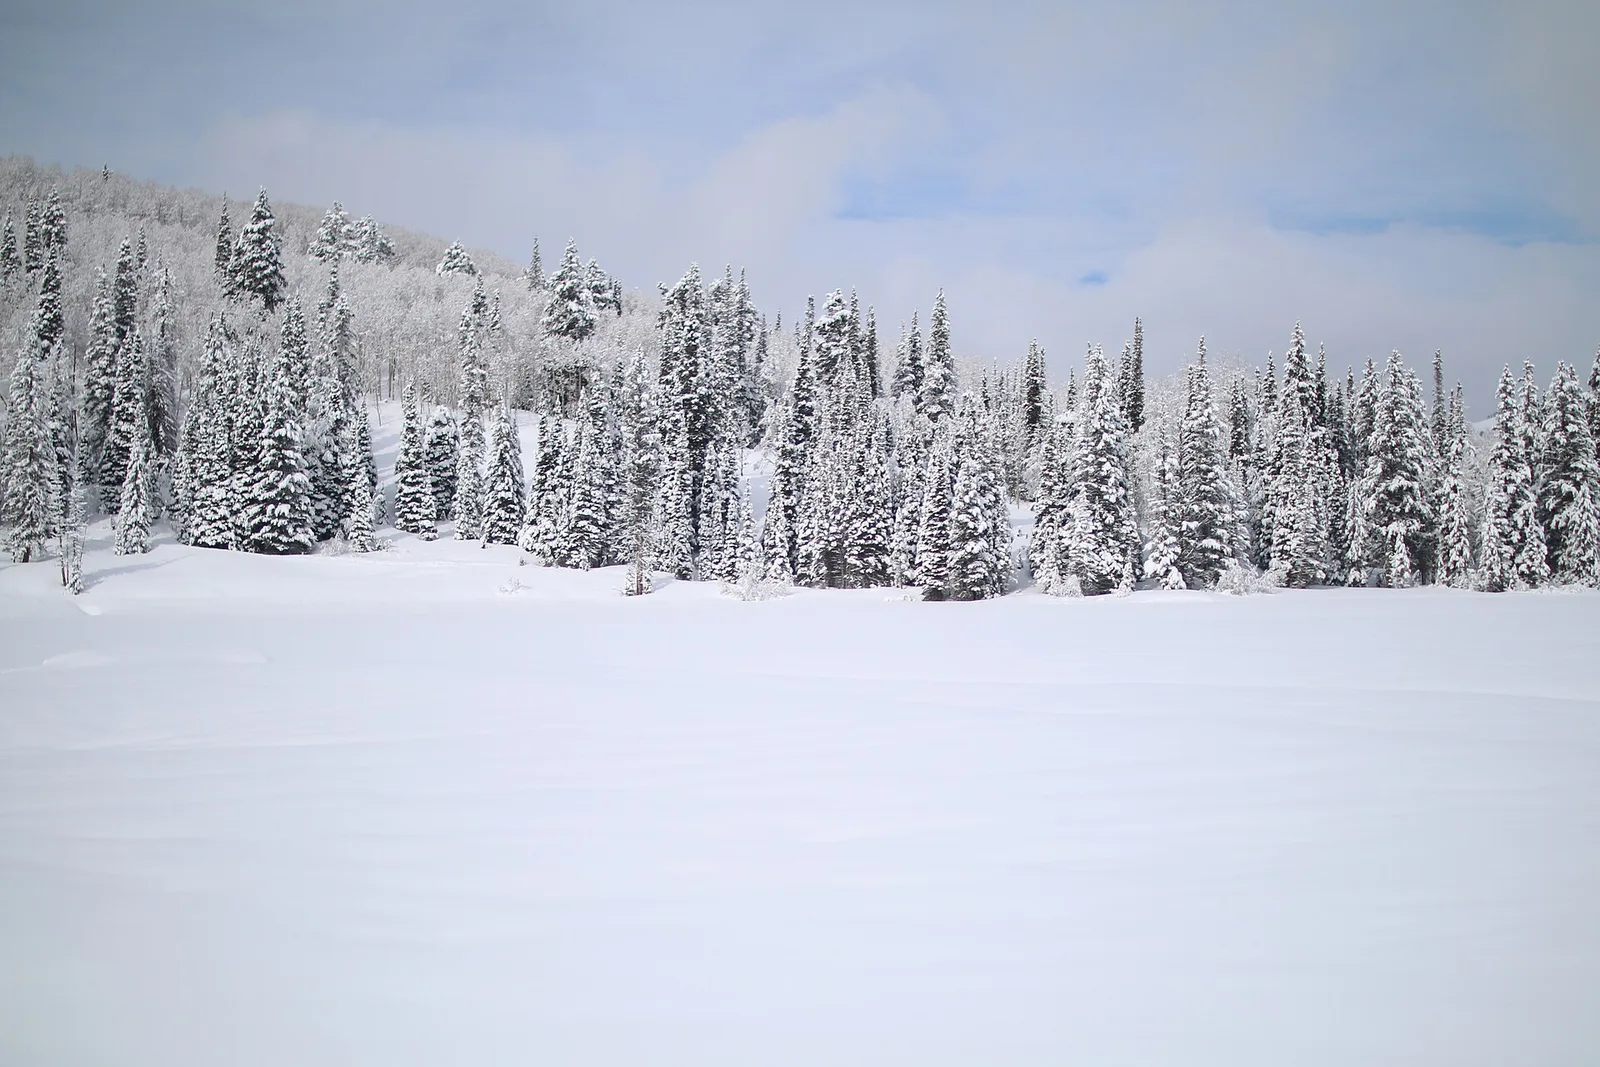
How do you adjust snow exposure on an iPhone?
Use the built-in Camera app in Photo mode. Apple's camera guide describes these controls:
- Frame the picture and tap the area you want in focus.
- Drag the exposure control beside the focus area up to make the image brighter or down to make it darker.
- Take another photo without changing your position.
- For a fixed scene, touch and hold the focus area until AE/AF Lock appears. Tap the screen to unlock it when you change subjects.
Compare the saved photo with your first frame. Check the brightest snow and, if there is a person, the face. When you move on, check the exposure control again rather than carrying a correction into a different scene by accident.
How do you change exposure on a Samsung Galaxy?
Samsung's US camera guide says Pro mode lets you adjust exposure value manually, and notes that modes and settings vary by model. In Camera, swipe to More and choose Pro if it is available on your phone; then use the exposure-value control to make a comparison frame.
If your Camera app does not show Pro mode or an exposure-value control, check the camera section of your exact model's manual before the trip. The layout and available settings differ across Galaxy phones.
Should you raise or lower exposure in snow?
Choose according to the saved picture. Work through this decision table with the same subject and position, so a change in framing does not become another variable.
| What you see | Try next | What to check in the saved result |
|---|---|---|
| Snow looks gray, with clear tracks or footprints | Make a slightly brighter frame | Snow is brighter and the chosen tracks remain visible |
| Bright snow looks blank | Make a slightly darker frame | Look for texture in the same patch; check the rest of the picture too |
| Snow looks blue but is bright enough | Compare it with what you see and decide whether to keep the cool cast | Nikon notes that a blue cast can be a creative choice in snow; judge the snow alongside the rest of the scene |
| Face is dark against snow | Tap the face and make another frame; also try changing the person's position relative to the light | Compare the face and snow separately |
| One correction improves the snow but spoils the face | Change the framing or position and start again on automatic | Choose a compromise you like instead of continuing to push the same control |
These are suggested comparison steps, not results from a phone test. For blue snow, Nikon's snow photography guidance notes both color correction and the creative choice of keeping a cool cast. Decide which appearance you want before changing it.
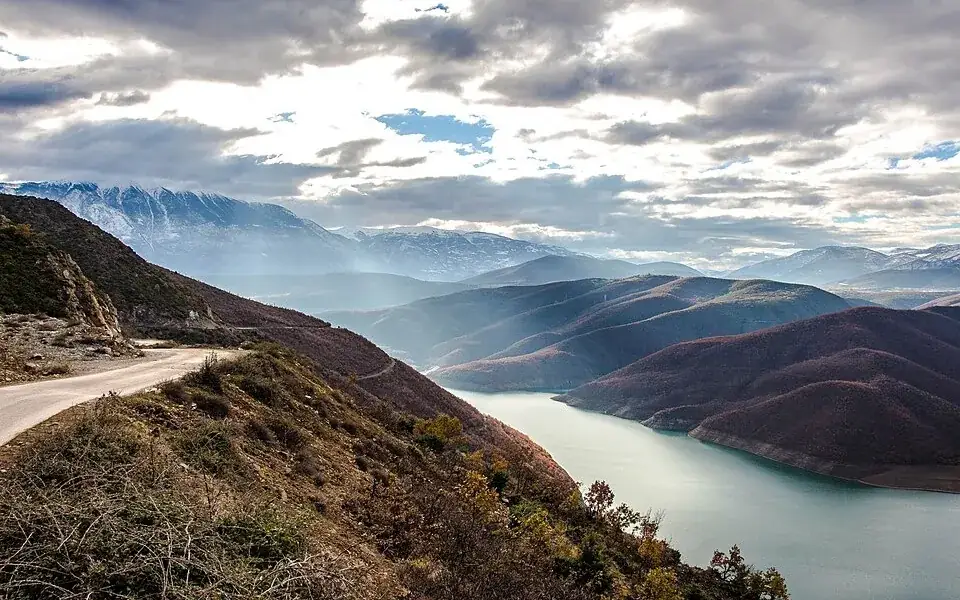
How can you compare three snow photos fairly?
Use this card for your own small experiment. Take the automatic, brighter, and darker frames close together without changing the lens or adding a filter. If the light changes or the person moves, start a new row rather than treating the frames as equivalent.
| Scene | Automatic frame | Brighter frame | Darker frame | Keep and why |
|---|---|---|---|---|
| Snow in direct sun | File: ___ · Texture: ___ | File: ___ · Texture: ___ | File: ___ · Texture: ___ | ___ |
| Snow under clouds | File: ___ · Texture: ___ | File: ___ · Texture: ___ | File: ___ · Texture: ___ | ___ |
| Face against snow | File: ___ · Face/snow: ___ | File: ___ · Face/snow: ___ | File: ___ · Face/snow: ___ | ___ |
Copy the table into a note and add this line above it:
Phone: ___ · System: ___ · Camera mode and lens: ___ · Date and place: ___ · Exposure changes: ___ · Filter or style: ___
Review the originals somewhere you can see the screen clearly, keeping display brightness consistent during the comparison. Label the files in your note before deleting any near-duplicates. A useful result is a specific observation about your own phone in that scene; keep it with the selected picture.
How do you keep faces from looking dark against snow?
First make the person the subject of the focus and exposure adjustment. On iPhone, Apple documents tapping to move the focus area and adjusting exposure beside it. Take the picture, then inspect the face and the brightest part of the background.
If you dislike the trade-off, move the person or change your shooting direction and start again. Try a closer composition with less bright background. Compare it with the wider shot rather than repeatedly brightening the same frame.
Before leaving the spot, check the eyes and expression too. Keep the picture you would want to show the person, even if another frame has slightly better snow texture.
What should you do when the phone gets cold?
Keep the comparison short and put the phone away between pictures. Apple says very cold conditions can temporarily shorten an iPhone's battery life or cause it to turn off. Use the manufacturer's operating guidance for your own phone; do not treat a snowy photo session as a battery endurance test.
Make the exposure controls familiar indoors before going out. At the location, stop in a suitable place, take the frames you need, and review them during a break.
What should you keep after choosing the photo?
Save the preferred original and one line about the day before sorting the remaining burst. Our guide to organizing travel photos covers what to do with the rest; a one-photo-a-day project gives the chosen frame a place in a longer record.
Can one snow photo become a keepsake ticket?
Memory Tickets is a free iPhone and Android app that turns one photo from a day into a ticket-style keepsake with a title, place, date and one line. Use the picture you chose and add the detail the snow alone will not tell you later. (iPhone · Android)